
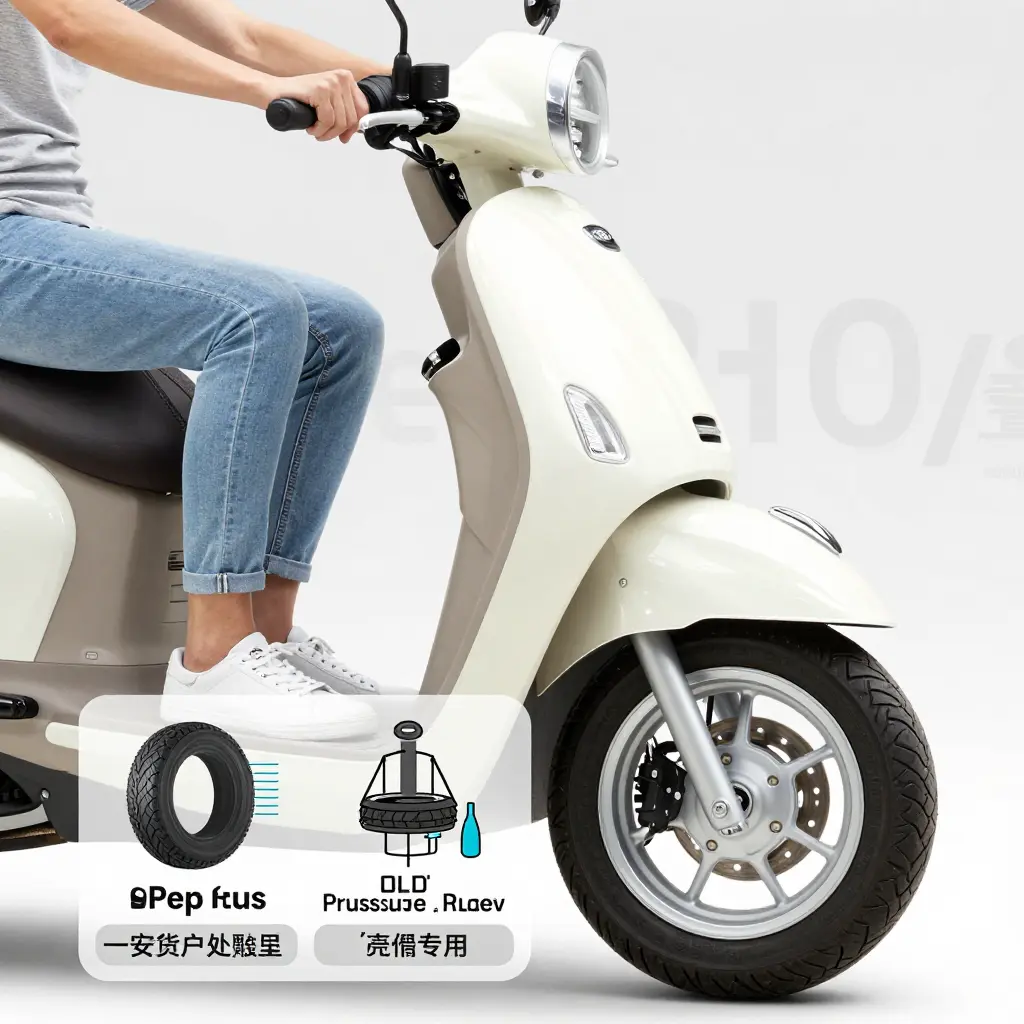
Tubeless Tyre Pressure on the Scooty Pep Plus: An Introduction
The Scooty Pep Plus runs tubeless tyres at both ends, and TVS prints the recommended pressures in the owner’s manual. The rear figure riders quote most often is 32 PSI, but it is not the solo setting. In the manual, 32 PSI is the dual figure on the tyre-pressure page; the specification table a few pages later gives 36 PSI for dual riding and 29 PSI for solo. Which number applies depends on whether anyone is sitting behind you.
Pressure matters more on a scooter than on a car. A tubeless tyre holds its shape and keeps its bead sealed against the rim through air pressure alone. Drop below the pressure the load needs and the sidewall flexes further than it was designed to. Three things follow:
- Safety – grip falls, braking distances stretch, and the rear feels vague or loose when it is carrying extra weight.
- Tyre life – the extra flexing generates heat and wears the tread unevenly, so the tyre reaches the end of its life early.
- Fuel use – a soft tyre rolls harder, and the engine burns more fuel to hold the same speed.
On the Pep Plus, adding a pillion changes the load on the rear tyre enough to move the correct pressure by several PSI.
Load Distribution and Physics on the Scooty Pep Plus
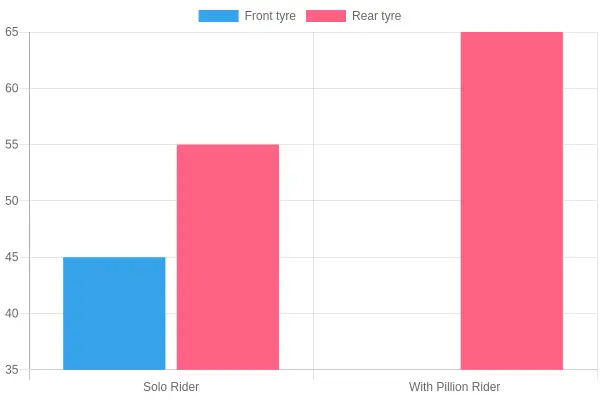
Two contact patches carry the scooter’s weight, one under the front tyre and one under the rear. Solo, the rear does more of the work: the engine, the transmission and the rider’s seat all sit toward the back of the frame. As a rough rule of thumb, about 45% of the load rests on the front and 55% on the rear.
What a Pillion Rider Changes
A pillion sits behind the rider, close to the rear axle, so most of that weight goes straight to the rear tyre. With a passenger aboard, the rear can carry roughly 65 to 70% of the total. Hence the rear’s higher pressure, and the reason a setting that feels fine solo can feel overloaded two-up.
Load, Pressure and Contact Patch
A tyre supports load through air pressure acting on the contact patch, the small area of rubber touching the road:
Load = tyre pressure x contact patch area
Add weight at a fixed pressure and the tyre deflects, the contact patch grows, and the sidewall flexes more. That flex builds heat and strains the carcass. Raising the pressure does the opposite: for a given load the contact patch shrinks, the tyre keeps its shape, and its temperature stays in check. The rear can therefore run firmer than the front, which also explains why one tyre often carries more load when you replace just one.
Recommended Tubeless Tyre Pressure for Scooty Pep Plus
The Scooty Pep Plus owner’s manual gives two sets of figures, and they do not match. The tyre-pressure page lists 24 PSI at the front and 29 PSI at the rear for solo riding, rising to 32 PSI at the rear for dual riding. The specification table at the back of the same manual keeps the front at 24 PSI and the rear at 29 PSI solo, but puts the dual rear figure at 36 PSI. The front stays at 24 PSI in every case.
| Riding Condition | Front Tyre Pressure (PSI) | Rear Tyre Pressure (PSI) | Source in the manual |
|---|---|---|---|
| Solo rider | 24 | 29 | Tyre-pressure page and specifications |
| Rider with pillion | 24 | 32 | Tyre-pressure page |
| Rider with pillion | 24 | 36 | Specifications |
Because the two pages disagree, treat 32 PSI as the minimum for two-up riding and 36 PSI as the figure to use when the scooter is fully loaded. Under-inflation is the failure that damages tyres, so erring toward the higher number is the safer choice. For a figure based on your own rider and pillion weights and the ambient temperature, run the numbers through a tyre pressure calculator.
Why the Rear Pressure Rises
- A pillion loads the rear tyre far more than the front, so it needs more air to hold its shape.
- An under-inflated rear squirms, overheats and wears unevenly.
- Check pressures cold, and recheck them after you start carrying a passenger or heavy luggage.
Symptoms of Incorrect Rear Pressure Under Pillion Load
A rear tyre at the wrong pressure with a pillion aboard rarely fails suddenly. It gives a series of small warnings that are easy to write off as normal scooter behaviour.
- Uneven tread wear – an over-inflated tyre scrubs the centre strip first; an under-inflated one scallops the shoulders and feathers the edges.
- Vague handling – steering feels loose, the front feels light, and the rear steps sideways in corners instead of tracking.
- Heat – the rear tyre and rim feel hot after a short ride, a sign the casing is flexing more than it should.
- Higher rolling resistance – acceleration feels laboured, and the scooter loses speed as soon as you ease off.
- Lower fuel efficiency – a soft, overloaded rear tyre makes the engine work harder to hold the same pace.
- Rear squat and harsh bumps – the tail sits low and road imperfections travel straight to the seat.
- Weak braking feel – a squashed contact patch cannot grip predictably under braking.
All of these point to the same cause: the rear tyre is not holding the pressure the load requires. Add a passenger and the load on the rear wheel rises sharply, so a pressure that felt right solo is now too low. Rather than guess, work from the manual’s figures or a calculator, and set the rear pressure before every two-up ride.
Load Distribution and the Rear Contact Patch
The illustration below shows the same rear tyre from underneath under three increasing loads. With a light load, only a small oval touches the road. Add weight and the patch stretches and rounds out; with a pillion aboard it grows noticeably wider and longer.
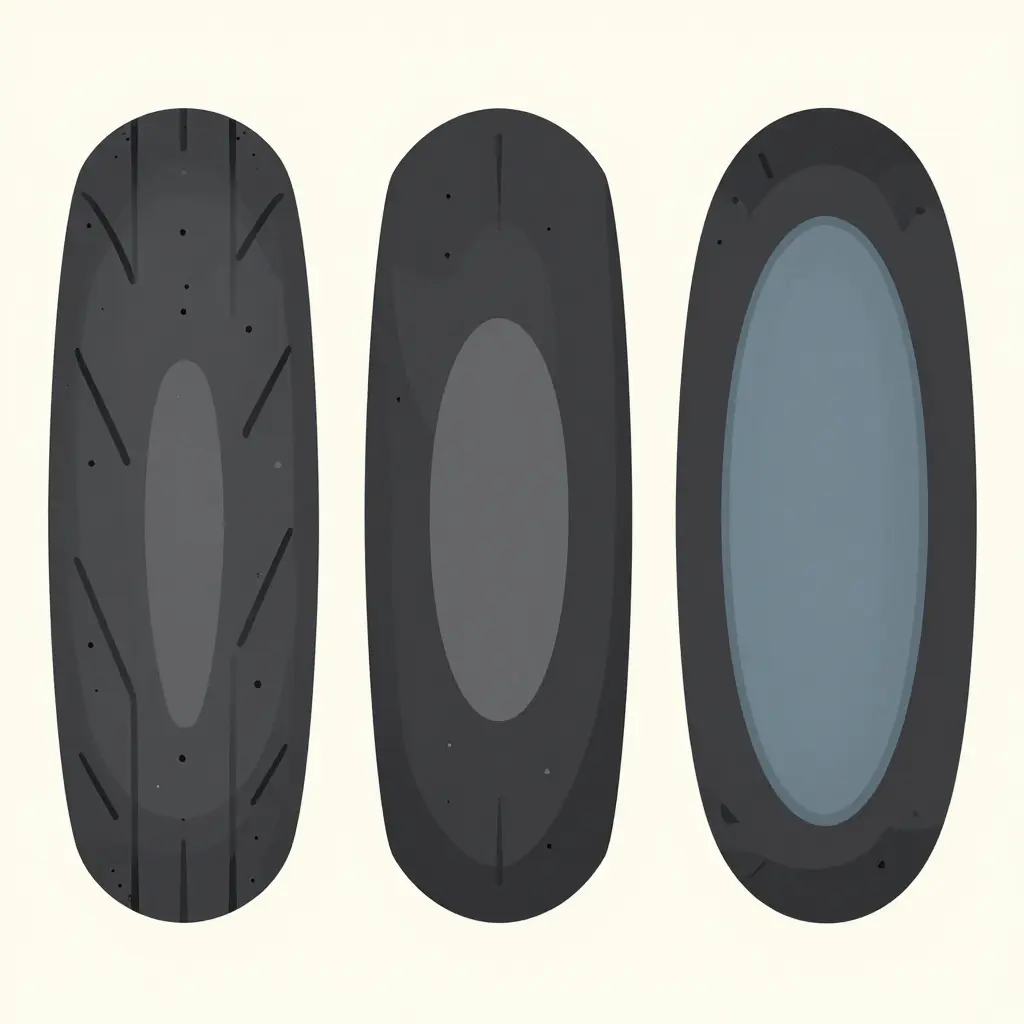
A larger contact patch puts more rubber on the road. That adds grip but also rolling resistance and heat. On a tubeless tyre, the casing and the rim work together to hold that shape, and they depend on air pressure to do it. Load a tyre that is still set for solo riding and the sidewall flexes further than it was designed to. If you want to understand how tyre dimensions affect the same balance, see choosing the right scooter tyre size for safe load carrying.
Rear vs. Front Pressure Balance on the Scooty Pep Plus
Tyre pressure is not a set-and-forget number. The front and rear tyres on a Scooty Pep Plus carry different loads and are designed to run at different pressures. The front handles steering and braking; the rear carries the engine, the rider, the drive force and, when present, the pillion.
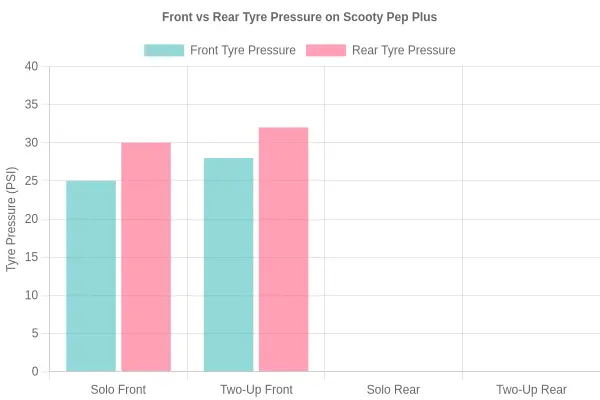
Solo, the weight sits closer to balanced, though the engine bias toward the rear still calls for a firmer rear. Add a pillion and the balance shifts rearward: the passenger sits almost directly over the rear wheel, so the rear tyre takes most of the total load. Its pressure climbs from 29 PSI unladen to 32 to 36 PSI two-up.
What Happens If You Run Both Tyres at the Same Pressure?
Run both tyres at the same pressure with a pillion aboard and the rear flexes too much, squirms in corners and heats up. Heat softens the rubber, speeds up wear and raises the risk of a blowout. Handling turns vague, the scooter wallows over bumps, and stopping distances grow. The front, meanwhile, is over-inflated for its lighter share of the load, which gives a harsh ride and a smaller contact patch.
Set the front softer and the rear firmer. For more on scooter tyre sizing and safe inflation, see how to maximize safety on 3.50-10 scooter tyres.
Quick Reference
| Condition | Front | Rear |
|---|---|---|
| Solo rider | 24 PSI | 29 PSI |
| With pillion | 24 PSI | 32-36 PSI |
Check tyre pressure when the tyres are cold, and recheck after you start carrying a regular pillion rider.
Rear Tyre Pressure: Solo vs Pillion at a Glance
Rear pressure is the number that changes with load. The chart below compares the manual’s solo and dual figures with the 32 PSI value from the tyre-pressure page.
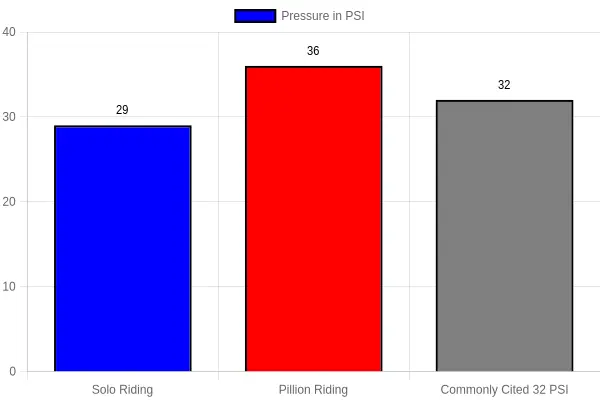
Caption: Recommended rear tyre pressure on a Scooty Pep Plus. Solo riding sits at 29 PSI; the specification table puts pillion riding at 36 PSI; the tyre-pressure page puts it at 32 PSI.
What the Chart Shows
Adding a pillion is not a matter of a pound or two. The rear tyre has to carry a lot more load, and only air pressure can support it. The manual’s own numbers reflect that:
- Solo riding (29 PSI): a lighter load, so the tyre runs at lower pressure and still keeps a healthy contact patch.
- Pillion riding (36 PSI on the specification page): the extra weight needs more internal pressure to stop the tyre squashing and overheating.
- 32 PSI: the tyre-pressure page’s dual figure, and 4 PSI below the specification table’s. It sits between the solo and fully loaded settings.
Why the Two Figures Differ
The manual contradicts itself: one page says 32 PSI for dual riding, another says 36 PSI. Both are TVS figures. For a lightly loaded pillion ride, 32 PSI may be enough; for two heavy adults, or a pillion plus luggage, 36 PSI is the safer choice. Under-inflation is what damages the tyre, so when the load is near the scooter’s limit, use the higher number.
To see how your own rider and pillion weights shift the target, calculate the right pressure for your load instead of relying on a single figure.
The Takeaway in One Line
One pressure does not cover every ride. Solo riding calls for 29 PSI at the rear; carrying a pillion calls for 32 to 36 PSI. Start from the manual’s figures, then adjust to how the scooter feels with the weight it is actually carrying.
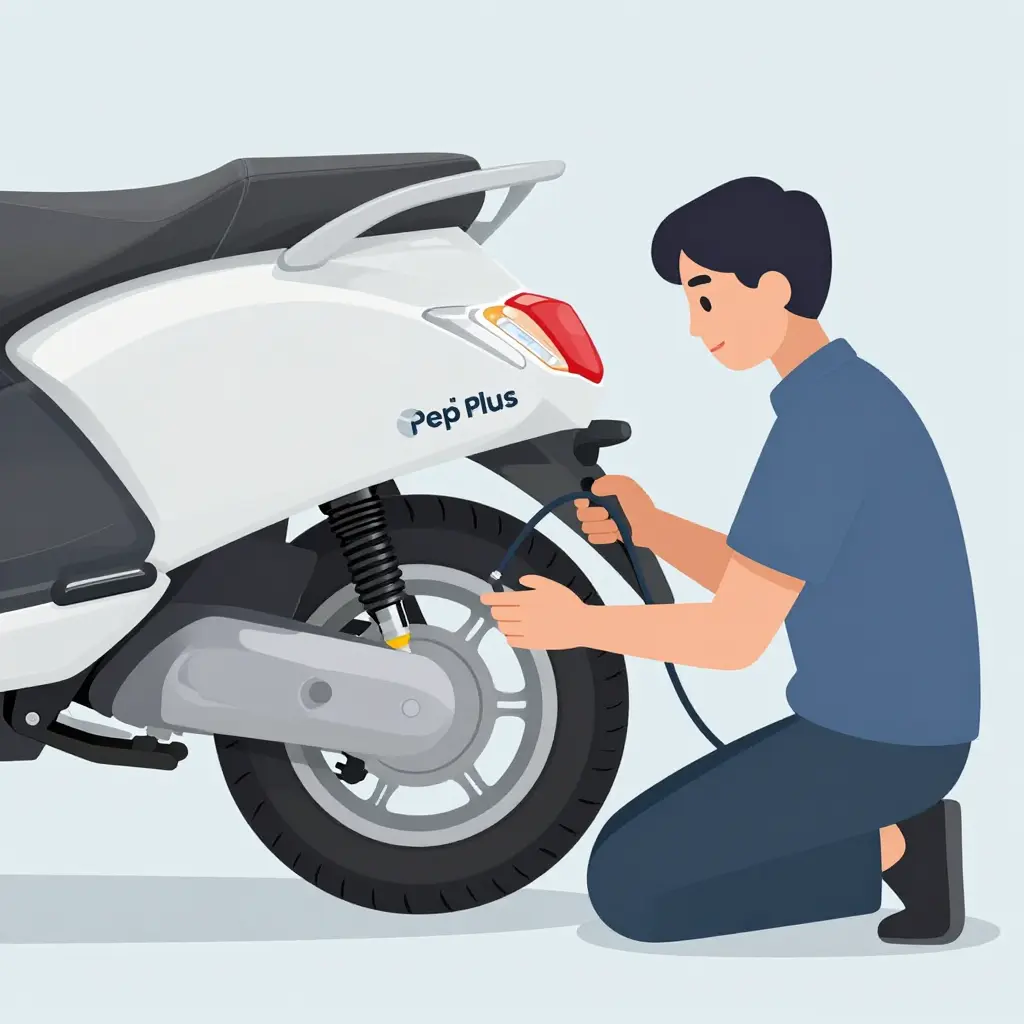
Step-by-Step Routine: Checking Your Scooty Pep Plus Before a Pillion Ride
Checking tubeless tyre pressure takes less than five minutes and is the difference between a confident two-up ride and an unstable one. The manual recommends checking at least once a week. Here is the order to follow before setting off with a pillion.
- Let the tyres cool. Check pressure cold, first thing in the morning or at least three hours after a ride. Warm tyres read high.
- Use a proper gauge. A digital or dial gauge beats kicking the tyre. Keep one under the seat.
- Know your target. Front 24 PSI; rear 29 PSI solo, rising to 32 to 36 PSI with a pillion.
- Check the front first. Remove the valve cap, press the gauge onto the valve stem, and read it without letting air escape.
- Check the rear. This is the tyre carrying the extra weight, so expect it to run low.
- Raise the rear for the pillion load. Bring it to 32 to 36 PSI so it does not squash under two riders.
- Inflate in short bursts. Add a little air, re-check, and repeat rather than overfilling and bleeding back down.
- Refit the valve caps. A snug cap keeps dust and moisture out of the valve and protects the seal.
- Look the tyres over. Check for embedded nails, sidewall cracks or a bulging tread that could mean a slow puncture.
Many riders pair these checks with a tyre pressure monitoring system that warns when pressure drops.
The routine in short: cool tyres, an accurate gauge, front and rear checked, and the rear raised for the pillion. Doing this consistently keeps the ride stable, protects the rims and extends tyre life, so make it a habit every time someone rides with you.